Really wild how there are two housing markets now.
If you live in the south or west, prices are falling, everywhere around you.
And if you live in Florida, the bottom’s falling out.
-Derek Thompson
Original post from Tristan Ahumada

Ramona Real Estate, Entertainment, News, Demographics and More.
Really wild how there are two housing markets now.

We’re excited to announce our very first community social at our new location:
📍 745 Main Street, Ramona
🗓️ Happening this July – date & time coming soon!
Come meet our real estate team and staging pros, enjoy some light refreshments, and connect with your neighbors in a fun and relaxed setting.
Whether you're buying, selling, curious about the market, or just want to say hi – everyone is welcome!
📢 Stay tuned for more details – we can’t wait to see you there!
#ReginaFloresRealEstateGroup #RamonaHomeStaging #745Main #RTown #RamonaRealEstate #BreakingBread #SocialRamona #CommunityConnections #RamonaEvents #MeetYourNeighbors #SupportLocalRamona #RamonaLiving #HomeStagingExperts #RealEstateSocial


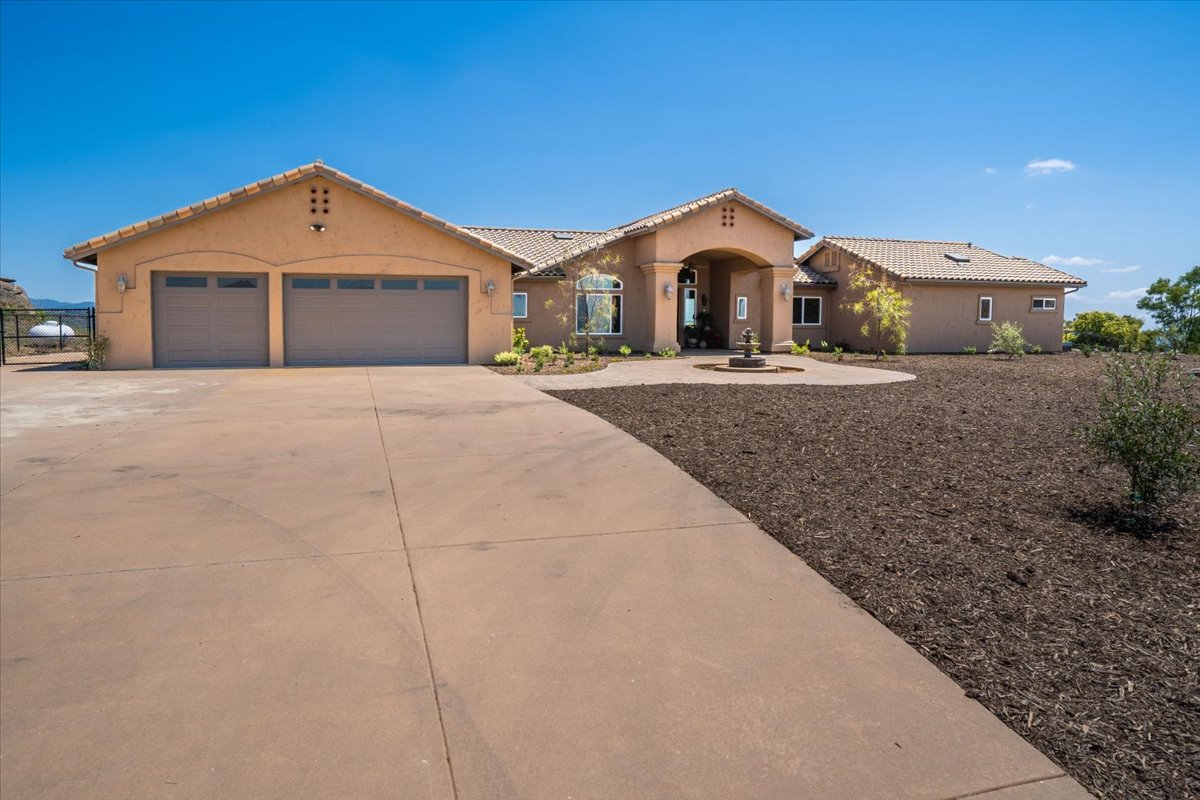
This little fixer went to the market.…and it’s ready for someone with vision to bring it home! This home is located in a coveted gated neighborhood called Shady Oaks. It is located on west-end Ramona next to $1+ Million homes. This diamond in the rough offers 3 bedrooms, 2.5 baths, and a chance to create something truly special. Whether you're an investor or a handy homeowner, this is your opportunity to build sweat equity in a prime location.
Bring your toolbox and imagination—this one won’t last!

.jpg)
.jpg)


.jpg)
A Realtor’s Perspective on Foundation Cracks
While taking a listing the other day on a beautiful home, I discovered a crack in the tile. Upon further inspection by a slab specialist, we found that the slab itself was cracked. Years ago, I would have panicked over such a scenario. However, with two decades of experience, I now understand that while a cracked slab is something to take seriously, it is not something to fear—provided it is repaired correctly, while taking the proper steps to repair requires patience, its essential. This is also an issue that must be disclosed to buyers, including sharing pictures of the repair process to build trust and transparency. If you come across this situation, don’t worry—it can be fixed!


How to Professionally Repair a Cracked Slab Foundation
A cracked slab foundation can be a serious issue, potentially compromising the structural integrity of your home. Whether caused by soil movement, moisture changes, or settling, addressing foundation cracks promptly is crucial. Professional repair ensures durability and prevents further damage. Below, we outline the essential steps involved in professionally repairing a cracked slab foundation.
Step 1: Remove Affected Tile or Flooring
Before beginning repairs, any tile, wood, or carpet covering the cracked area must be carefully removed. If tiles are involved, professionals use a chisel and hammer to lift them while avoiding damage to the surrounding flooring. Removing these materials allows direct access to the damaged slab for a thorough assessment and repair.


Now we have to shop for "close enough" matching tile